The July through December 2022 mini catalog is full of so many great holiday products, and since the holidays are coming on at full force the host for my local stamp class chose three cards--one for Halloween, one for Thanksgiving, and one for Christmas/Winter. There are also some very talented people that share the cards that they make on Pinterest and Facebook that inspire me for using the new products.
I fell in love with the Best Wishes stamp set and bought it early. Then I found other people sharing great ways to use it. The first card we made was taken from a card shared by Janneke Dijksha-DeJong. I used some other products and tools that I had that are now retired.

- 5 ½” X 8 ½” Thick Basic White cardstock; score in landscape at 4 ¼”
- 5 ¼” X 4” Basic Black cardstock
- 5 1/8” X 3 7/8” Basic White cardstock
- 2 7/8” Basic White stitched circle
- 2 3/8” Pumpkin Pic stitched circle
- 3” X 3” scrap Basic White
- 4 ¾” X ½” Designer Series Paper (DSP)
- 4 ½” X 1” DSP
- 4” X 3/4” DSP
- Black twine
- Matte Black Dots
The next card for Thanksgiving is using a stamp set that has nothing to do with fall--Forever Fern. Pat Tecza shared a simple way to create a fall wreath using the masking technique. There is a new masking paper available from Stampin' Up! that helps create this look.

The card recipe includes:
- 5 ½” X 8 ½” Thick Basic White cardstock; score in landscape at 4 ¼”
- 5 3/8” X 4 1/8” Rich Razzleberry cardstock
- 5 ¼” X 4” Basic White cardstock
- 2” circle of masking paper (stick onto your skin a little bit to remove some of the tacky)
- Color dots
- (Maybe, if desired, 2 ¼” white circle to stamp sentiment on and pop up over the center of the wreath)
Another new product that caught my eye was the Snowflake specialty vellum. Some pieces are white flocked images and some are iridescent metallic images on the vellum. I loved a card that Michelle Last made that inspired the third card we made at the stamp class. This card used the Joyful Flurry stamp set for sentiments and images inside the card and the Frosted Flurry dies.

Below are the measurements for the layers on this card:
- 5 1/2” X 8 ½” Night of Navy cardstock; score in landscape at 4 ¼”
- 5 ¼” X 4” Specialty Flocked Snowflake Vellum
- 5 ¼” X 4” Basic White cardstock (inside)
- 5 ¼” X 1 ½” Vellum cardstock
- 4th from largest circle die (Layered circles) from Silver Foil
- 2 small snowflakes die cut from Silver Foil
- Colored rhinestones
If you like any of these projects, please like and share the videos, and subscribe to my YouTube channel. When you click the bell icon, you will be notified when I upload a new video. I also hope that you will Shop with Me to purchase any of the stamp sets, dies, designer series paper, vellum, and so on.
A few other projects that I made with the Best Witches and Joyful Flurry sets are below. Maybe they will inspire you to make your own creations.

Inspired by Vicki Burdick
- 5 1/2" X 8 1/2" Basic Black cardstock; score in landscape at 4 1/4"
- 5 3/8" X 4 1/8" Basic White cardstock
- 5 1/4" X 4" Designer Series Paper
- 4 1/2" X 3 1/4" Gorgeous Grape cardstock
- 4 3/8" X 3 1/8" Basic Black cardstock
- 4 1/4" X 3" Basic White Cardstock
- Scrap white to stamp witch on
- Metallic Mesh ribbon (I also meant to add Orchid Oasis sparkly ribbon)
- 5 1/4" X 4" Basic White cardstock (inside)
- Stamp bats on outer white layer & add stars

Inspired by Sara Sherlock

Inspired by Cathy Autrey
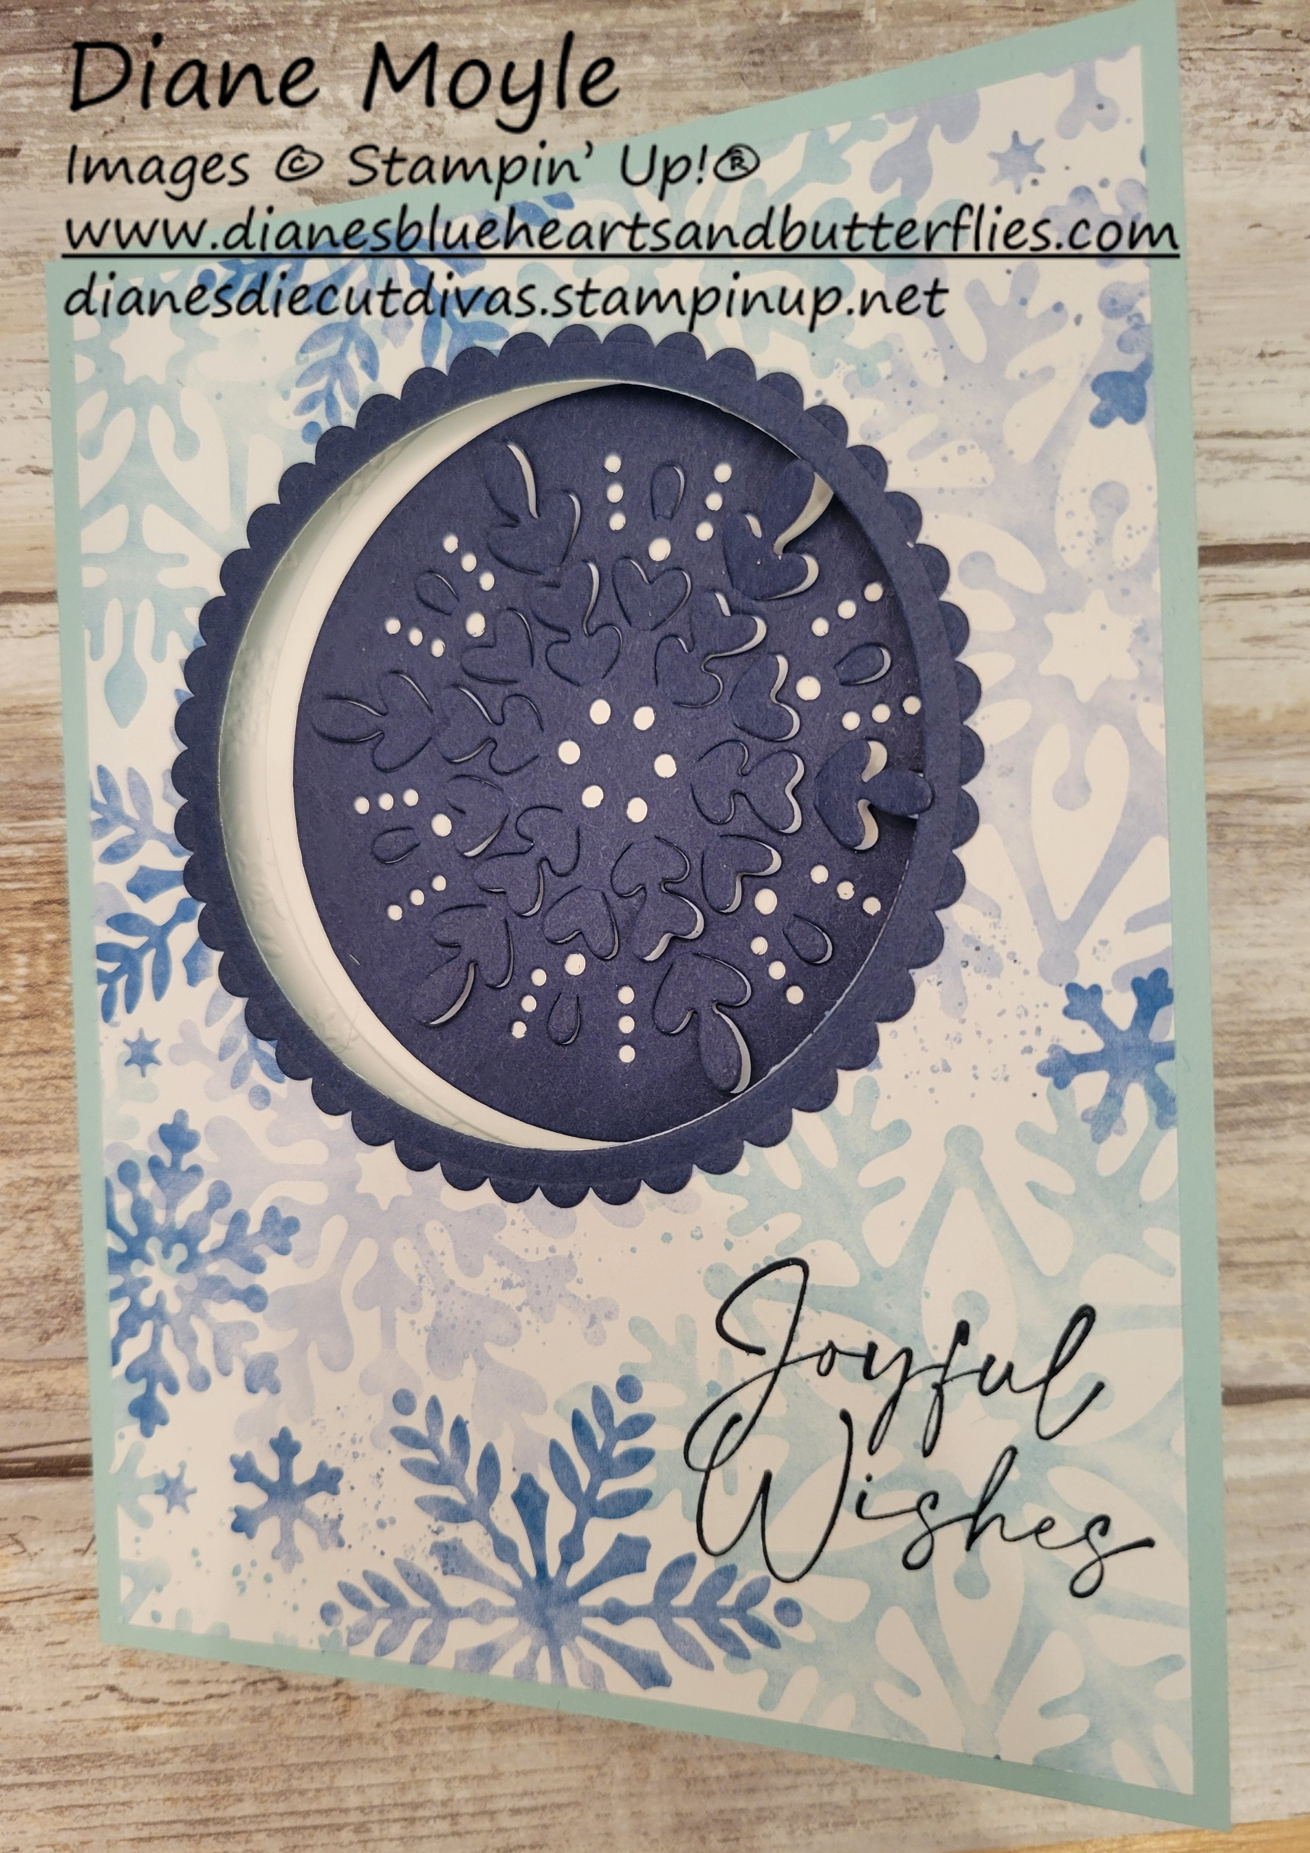
Inspired by Dolly Werner


